Step 3: Filling Out the Claim Forms Accurately
Understanding Claim Forms Key Information and Why Accuracy Matters
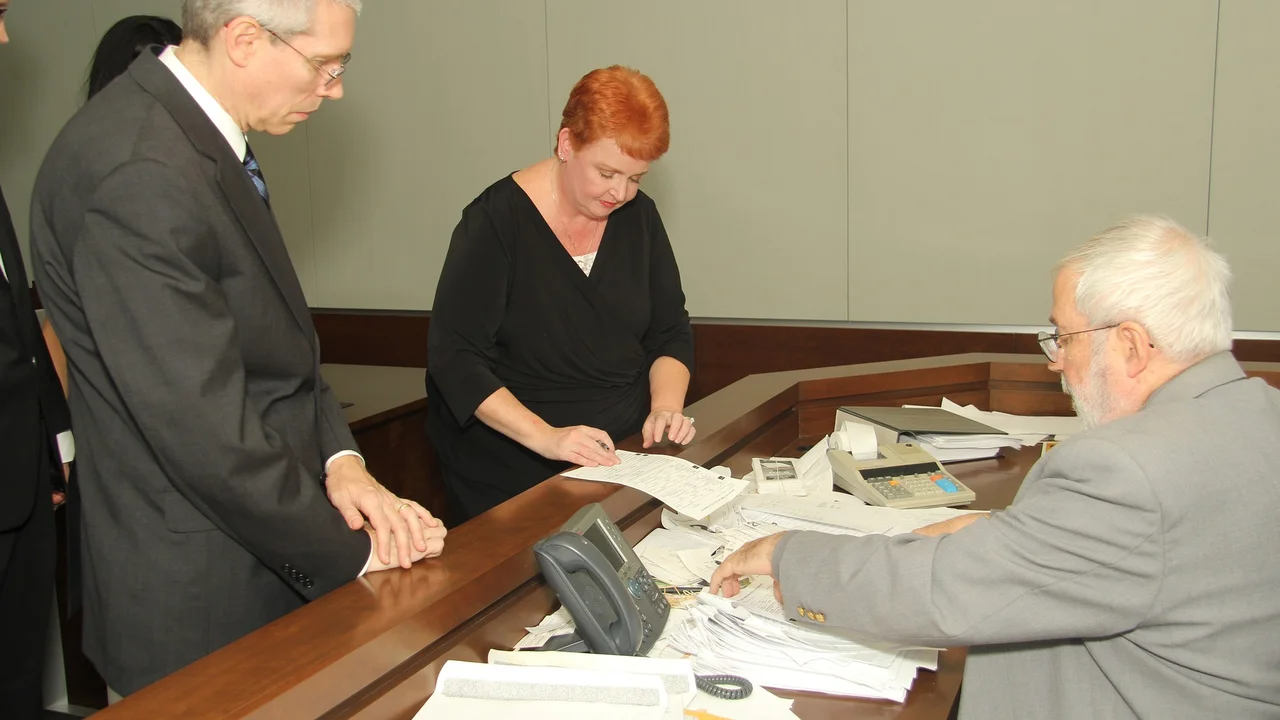
Alright, folks, so you've made it to Step 3! You've probably already gone through the initial shock, gathered some documents, and are now staring down a claim form. Don't panic! This is where things get a little more official, but it's totally manageable. This section is all about understanding what these forms are asking for and why getting it right is super important. Think of it like this: the claim form is your story, and you want to tell it clearly and accurately so the insurance company understands exactly what happened.
The claim form is the foundation of your claim. It's the official document where you detail the incident, the damage, and your losses. It's how the insurance company assesses the situation and determines how much they'll pay out. Accuracy is key because even small errors or omissions can delay your claim, reduce your payout, or even lead to a denial. We're talking about your money and your peace of mind here, so let's make sure we get it right!
Common Mistakes to Avoid: Leaving blanks, guessing at information, using vague language, and not attaching supporting documents. Trust me, I've seen it all. We'll go through the form together and highlight the crucial areas to pay attention to.
Gathering Essential Documents Before You Start Filling Out the Forms
Before you even think about touching that pen (or keyboard), let's gather all the necessary documents. Having everything organized upfront will save you a ton of time and frustration. Think of it as prepping your ingredients before you start cooking. You wouldn't start baking a cake without flour, right? Same principle here.
What do you need? Policy documents (super important!), police reports (if applicable), photos or videos of the damage, receipts for damaged items, medical reports (if there were injuries), estimates for repairs, and any other relevant documentation that supports your claim. The more evidence you have, the stronger your claim will be.
Pro-Tip: Make copies of everything! Keep the originals in a safe place and use the copies for submitting with your claim. You never know when you might need them again.
Breaking Down the Claim Form Section by Section A Detailed Guide
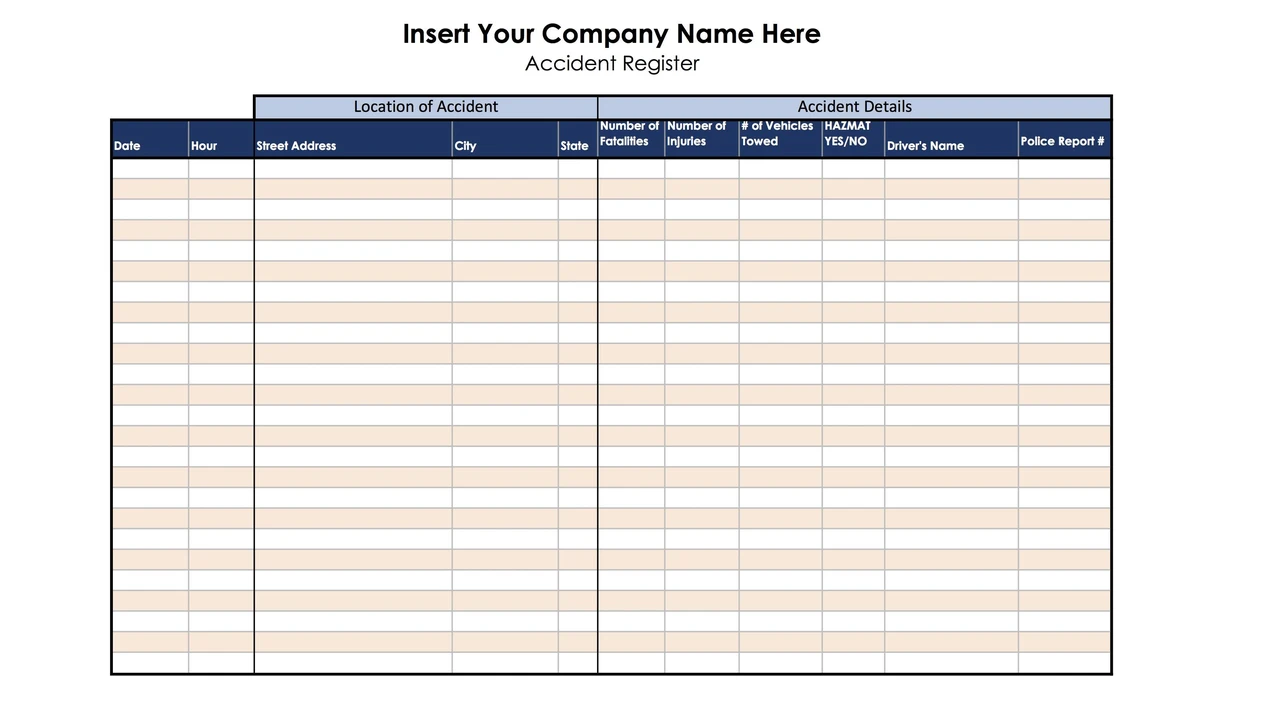
Okay, let's dive into the form itself. Claim forms can look intimidating, but they're usually structured in a logical way. We'll break it down section by section so you know exactly what's being asked for and how to answer it accurately.
- Policyholder Information: This section is straightforward. Name, address, policy number, contact information. Double-check that everything is correct and matches your policy documents.
- Incident Details: This is where you describe what happened. Be clear, concise, and factual. Include the date, time, location, and a brief description of the event. Avoid emotional language or speculation. Stick to the facts.
- Damage Description: Detail all the damage caused by the incident. Be specific about the items that were damaged, the extent of the damage, and the estimated cost of repairs or replacement. Photos and videos are your best friends here!
- Witness Information: If there were any witnesses to the incident, provide their names and contact information. Witness statements can strengthen your claim.
- Other Insurance: If you have other insurance policies that might cover the loss, disclose them here. This is important for coordination of benefits.
- Signature and Date: Make sure you sign and date the form! An unsigned form is considered incomplete.
Using Precise Language and Avoiding Ambiguity in Your Claim Description
The words you use on your claim form matter. Avoid vague language, generalizations, and exaggerations. Use precise language to describe the incident and the damage. Instead of saying "the car was damaged," say "the front bumper of the car was dented and the headlight was broken."
Example: Instead of "the water damage was bad," say "the water damage affected the drywall in the living room, causing it to crumble and requiring replacement. The carpet is soaked and needs professional cleaning."
Remember, the insurance company is relying on your description to understand the extent of the damage. The more specific you are, the better.
Attaching Supporting Documents To Bolster Your Claim
Don't just fill out the form and send it in. Attaching supporting documents is crucial to strengthening your claim. These documents provide evidence to back up your statements and help the insurance company assess the damage.
What to include: Police reports, photos/videos of the damage, receipts for damaged items, medical reports, repair estimates, and any other relevant documentation. The more evidence you have, the stronger your claim will be.
How to organize them: Label each document clearly and attach them to the claim form in a logical order. You can also create a cover letter listing all the attached documents.
Reviewing Your Completed Claim Form Before Submission A Checklist
Before you submit your claim form, take a deep breath and review everything carefully. This is your last chance to catch any errors or omissions. Use a checklist to ensure you haven't missed anything.
Checklist:
- Have you filled out all required fields?
- Is all the information accurate and consistent?
- Have you attached all supporting documents?
- Have you signed and dated the form?
- Have you made a copy for your records?
If you're unsure about anything, don't hesitate to contact your insurance agent or a claims adjuster for clarification. It's better to ask questions than to make mistakes.
Recommended Products and Tools for Documenting and Filing Your Claim
Okay, let's talk about some tools and products that can make this whole process a lot easier. We're in the 21st century, so let's use technology to our advantage! These recommendations are based on my experience and what I've seen work well for others. Remember to always check reviews and compare prices before making a purchase.
Document Scanning Apps for Effortless Digitalization
Instead of lugging around piles of paper, scan everything with your smartphone! It's fast, easy, and keeps everything organized digitally.
- CamScanner: A popular choice for scanning documents, receipts, and even whiteboards. It automatically crops and enhances the images, making them clear and readable. Free version available with watermarks; paid version removes watermarks and offers additional features. Use Case: Scan all your receipts for damaged items and create a digital record for your claim. Price: Free (with watermarks) / $4.99 per month (premium)
- Adobe Scan: Another excellent option from Adobe. It integrates seamlessly with other Adobe products like Acrobat Reader and Document Cloud. It also has OCR (Optical Character Recognition) capabilities, which means you can convert scanned documents into editable text. Use Case: Scan your insurance policy and convert it to text to easily search for specific terms and conditions. Price: Free (with limited features) / Subscription required for advanced features
- Microsoft Lens: A free app that's part of the Microsoft Office suite. It scans documents, whiteboards, and business cards, saving them to OneDrive or other Microsoft apps. Use Case: Quickly scan a police report at the scene of an accident and save it directly to your OneDrive for easy access. Price: Free
Comparison: CamScanner is great for basic scanning and quick document capture. Adobe Scan offers more advanced features like OCR and integration with Adobe products. Microsoft Lens is a solid free option if you're already using Microsoft Office.
Cloud Storage Solutions for Secure Document Management
Don't risk losing your important documents! Store them securely in the cloud so you can access them from anywhere.
- Google Drive: Most people already have a Google account, which includes 15GB of free storage on Google Drive. It's easy to upload, organize, and share documents. Use Case: Store all your claim-related documents in a dedicated Google Drive folder for easy access and sharing with your insurance adjuster. Price: Free (15GB) / Paid plans for more storage
- Dropbox: Another popular cloud storage option. It offers features like file syncing, version history, and collaboration tools. Use Case: Create a shared Dropbox folder with your contractor to easily share photos, estimates, and other documents related to the repair process. Price: Free (2GB) / Paid plans for more storage
- OneDrive: Microsoft's cloud storage service, integrated with Windows and other Microsoft products. Use Case: Automatically back up all your photos and videos of the damage to OneDrive for safekeeping. Price: Free (5GB) / Paid plans for more storage
Comparison: Google Drive is convenient if you're already using Google services. Dropbox is known for its file syncing and collaboration features. OneDrive integrates seamlessly with Windows and Microsoft Office.
Voice Recording Apps for Capturing Accurate Incident Descriptions
Sometimes it's easier to talk than to write. Use a voice recording app to capture your initial thoughts and observations about the incident.
- Otter.ai: A transcription app that automatically converts your voice recordings into text. This is invaluable for capturing detailed descriptions of the incident and creating a written record. Use Case: Record a detailed description of the accident immediately after it happens and have Otter.ai transcribe it into text for your claim form. Price: Free (limited transcription minutes) / Paid plans for more minutes
- Voice Memos (iOS): A built-in app on iPhones and iPads for recording audio. It's simple and easy to use. Use Case: Quickly record your observations of the damage to your property before you start cleaning up. Price: Free (included with iOS)
- Voice Recorder (Android): A similar app for Android devices. Use Case: Record your conversations with the insurance adjuster so you have a record of what was discussed. Price: Free (included with Android)
Comparison: Otter.ai is the best option if you need accurate transcriptions. Voice Memos and Voice Recorder are simple and convenient for basic audio recording.
Submitting Your Claim Form and Following Up
You've filled out the form, gathered your documents, and reviewed everything carefully. Now it's time to submit your claim! Follow the instructions provided by your insurance company for submitting the form. This might involve mailing it, faxing it, or submitting it online.
After you submit your claim, it's important to follow up with the insurance company to check on its status. Keep a record of all your communication with the insurance company, including dates, times, and names of the people you spoke with.
Don't be afraid to ask questions and advocate for yourself. It's your right to receive a fair and timely settlement. If you're not satisfied with the insurance company's response, you have the right to appeal their decision or seek legal assistance.
:max_bytes(150000):strip_icc()/277019-baked-pork-chops-with-cream-of-mushroom-soup-DDMFS-beauty-4x3-BG-7505-5762b731cf30447d9cbbbbbf387beafa.jpg)